


How to Create a Flat Illustration in 5 Steps
Published: July 03, 2018
Share on LinkedIn Share on Twitter Share on Facebook Click to print Click to copy url

Flat illustrations are all of the rage these days, and can be a great way to display information in an easy-to-follow way. But, if you don’t have much experience creating them or you don’t have a process to follow, they can be pretty daunting. I had no idea where to start when I was first designing flat illustrations, and I made a lot of mistakes. But now, I have a process that saves me time and helps me avoid problems while I’m designing.
Related Content:
- Custom Website Development Services
- Custom WordPress Development Services
- Custom Shopify Web Development Services
- Branding and Design
I believe that seeing another designer’s workflow can help build a strong foundation for your own, so below is the step-by-step process of how I create flat illustrations.
Step 1: Sketch
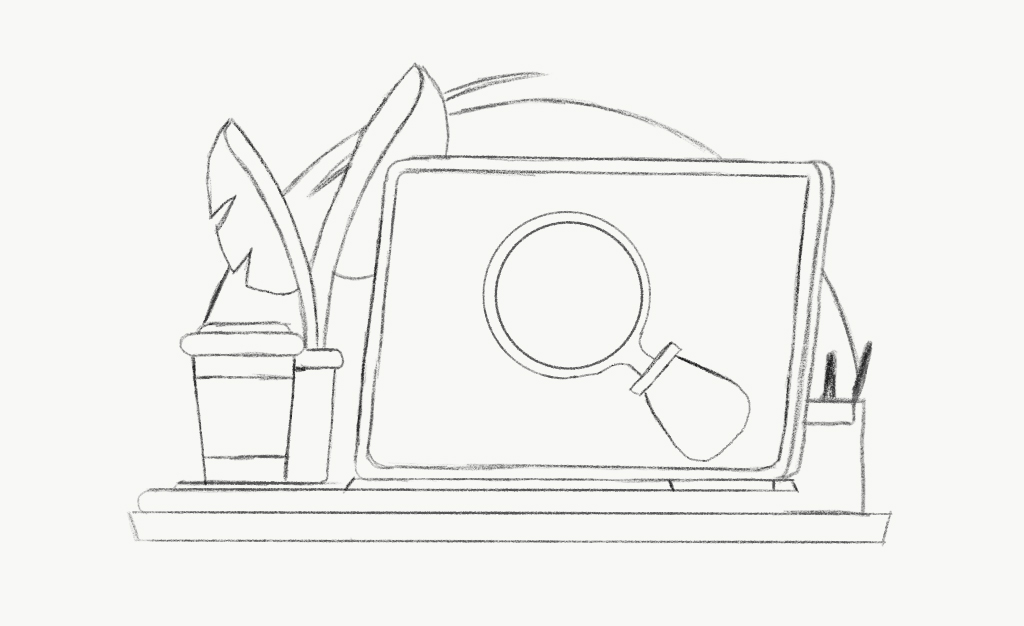
The beginning of my process is all about figuring out the composition, dimensions, and intent of the piece I’m working on. I do this by sketching on my iPad, but a pencil and paper work too. Keep in mind that this step shouldn’t be time consuming (I usually spend no more than 15-20 minutes on my sketches) because right now, you only need to get the image in your head down on paper. Don’t worry about spending a ton of time trying to perfect details. Just sketch something that is clear to you and worry about everything else later.
Step 2: Outline
Next, I turn my sketch into a vector outline by importing it into Adobe Illustrator and tracing the lines with the pen and shape tool. After I’m done tracing, I like to smooth my lines out with the smooth tool and once I’m happy with all of the lines, I start to make adjustments to the composition.
At this stage, it’s a good idea to lay everything out in the way you like so you don’t have to move things around later. It’s also a good idea to make sure you have your layers organized. You’ll have hundreds of shapes in your Illustrator file by the time you’re done with your design, so make sure to name and order them as you go to avoid confusion.
Step 3: Color

It’s time to start filling all of the outlines with color. It’s okay to not have a full color palette in mind for your design. There are a ton of great websites out there that can help you figure out your color palette (some of my favorites are Adobe Color CC and Flat UI Colors). Try not to go overboard and add a ton of colors unless it’s absolutely necessary. It’s more visually appealing to keep the color palette as simple as possible. I find that pairing shades of one color with a different, contrasting color gives the best visual effect.
Step 4: Details

After I have my base color, I then go in and add additional details that will bring the illustration to life. This is the most time-consuming part of the illustration process for me, but it’s important to devote a lot of time and attention to this step because the illustration should look finished at the end of it.
The key to mastering this step is to think about how to add depth and dimension to the shapes while remaining consistent with their details. Where is the light source coming from? Do all of your shadows match? Are the appropriate colors used in each situation? Make sure to answer all of these questions thoroughly in your design. And take the time to clean up your lines and align all of your anchor points. And remember, doing this tedious detail work will take your illustration to the next level.
Step 5: Texture

Some flat illustrations can seem a bit void after I’ve finished all of the details, so adding textures can breathe a little extra life into them. Adding texture is optional, so if you think your illustration is fine after the last step, feel free to skip it.
The easiest way for me to add textures to vector illustrations is to use the grain effect in Illustrator. To do this, I duplicate the shape I want to apply a texture to and then apply a black and white gradient to it. From here, I apply a grain effect to the gradient and customize the opacity and blending mode on the gradient until I achieve the effect I want. You will discover that there are hundreds of ways to achieve textures in Illustrator, so do some experimenting to see which one works best for you.
Closing Thoughts
Learning how to create flat illustrations is a long process that takes a lot of practice to master. Every designer has a different design process, and it’s important to figure out what steps work for you. As you’re learning, take your time and try not to get frustrated. With enough practice, your illustrations will get better and you’ll start to discover your workflow. And, eventually, you will be knocking out illustrations like this on a daily basis.
What do you think of my design process? How does your process differ from mine? I’d love to hear your answers, so let me know in the comments below!